Tough PVC tiles ideal for covering contaminated concrete
Watco Interlocking Flooring tiles are the ideal solution for covering damaged floor surfaces, where repair can be impractical and expensive. Each tile in the Watco range are simply laid on the surface and tapped into place using a rubber mallet. As no glue is required tiles can easily be moved or replaced at little expense. Watco Interlocking Flooring tiles are manufactured from highly durable PVC to the highest quality standards and are available in a variety of styles, finishes and colours to meet your requirements.
Flat design suitable for vehicular traffic. Raised disc design suitable for pedestrian traffic.
Please note, the price indicated is per individual tile
| Properties | Anti slip and anti fatigue. Tiles are 500 x 500mm square and 7mm thick. Edge Ramps are 500 x 90mm and 7mm thick. Edge Ramp & Corners are 590 x 90mm and 7mm thick |
| Suitable for | Weak or contaminated surfaces which cannot be adequately cleaned to receive a coating |
| Interior or Exterior | Interior |
| Application tools | Rubber mallet |
| Depth | 7mm |
Watco Interlocking Flooring can be installed over any hard surface and in most situations will not require gluing. The only situations where we recommend gluing are where the tiles will be located in direct sunlight (e.g. south facing loading bay) or there will be very heavy traffic movements combined with tight turning circles.
If the installation is to take place when the temperature is cold (below 15°C) it is essential that the tiles are allowed to acclimatise for a minimum of 12 hours. If possible installation should be carried out at a temperature of 18°C+.
A 5mm expansion gap must be left between the tiles and any fixed point to allow expansion and contraction of the tiles when changes in temperature occur.
If appearance is critical we recommend the application of a small trial area first.
Start installation of the tiles from the middle, working outward towards the sides. This will ensure even distribution of the weight and surface tension of the tiles. The tiles can be connected with a rubber mallet or engineering hammer.
When all full size tiles are laid it is advisable to wait 24 hours before cutting the edge sections. This will allow the tiles to settle and expand fully. Remember to leave a 5mm expansion gap between the tiles and any fixed points (walls, machines etc.) To get the best results when cutting use a table saw, guillotine or jigsaw. We recommend finishing the 5 mm expansion gap between the tiles and the walls with either:
An external corner piece is available from Watco. Alternatively, the edge ramps can be cut to form a corner as follows:
This product option is unavailable, please make an alternative selection.
£16.40 (Ex VAT)
In stock
This product option is unavailable, please make an alternative selection.
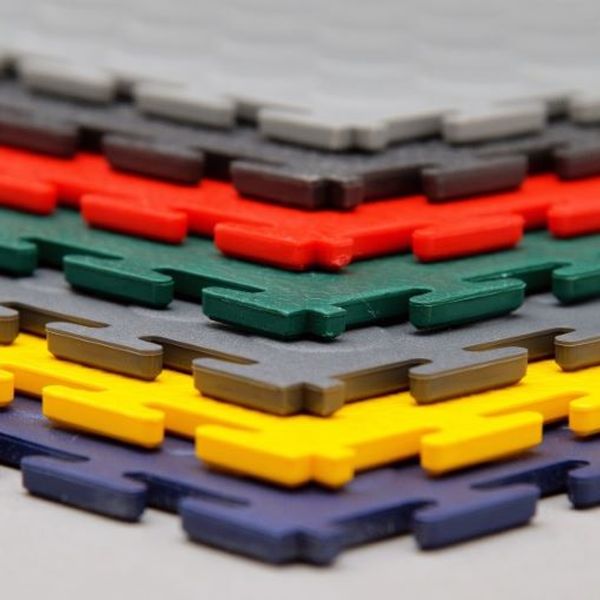
Watco Interlocking Flooring


